
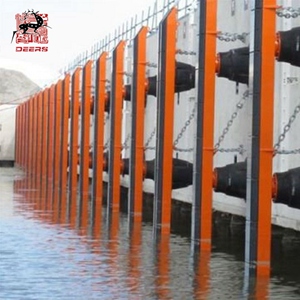
How to install cone rubber fender?
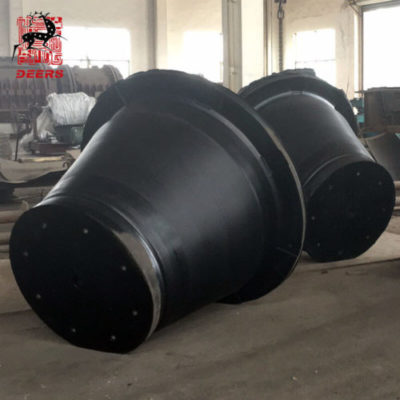
The following are general steps for assembling and installing a cone fender system. The actual fender size varies depending on the design. Nanjing Deers can help determine the best order and precautions to ensure safe and successful work.
 |
1. Accurately locate the anchors on the structure according to the design after checking the template against the fender bolt pattern, brackets, and other bolted parts |
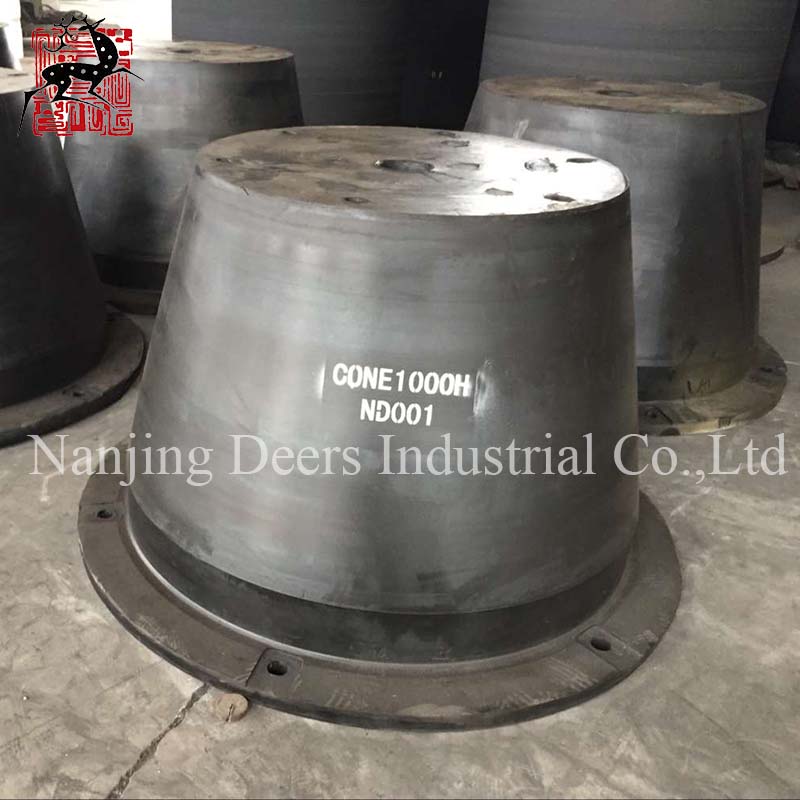 |
2.Before installing the main fender system, it is advisable to install auxiliary items, such as brackets. The chain can be connected to the panel or the structure first. Clean the socket and check all threads before offering up the cone fender system. |
 |
3.Prepare a large enough work area to prevent the fender, away from any cutting, grinding, or shot peening. Place the fender face down to support it on a suitable load to protect the PE pad and paint. |
 |
4.Raise the conical fender to the proper position with a soft sling or hook, Use a special washer to pass all the bolts through the fender flange, Be careful not to damage the cone rubber. |
 |
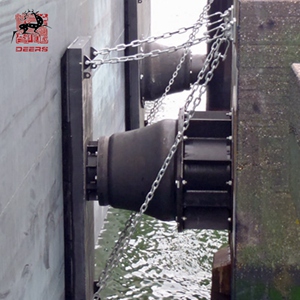
5.Attach the appropriate handcuffs to the lifting point on the panel and connect the appropriate size of the chain sling. The component weight is shown on the drawing or available from chinarubberfender.com. |
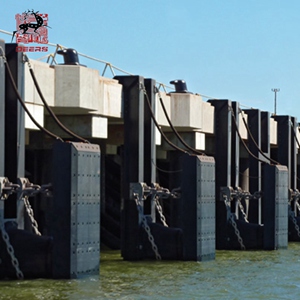 |
6.It is safe to ensure that the promotion area is clear and the promotion is starting, Commence the lift and rotate the panel until it is vertical. |
 |
7.Make sure that all fixed points are accessible, especially where there are plenty of tides. Use a label line to help guide the fender in place to avoid damage to rubber and paint. |
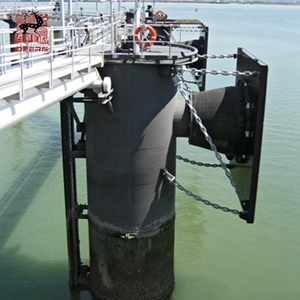 |
8.Align the bolt holes and loosely assemble the bolts (or nuts). Tighten fixings equally, working diametrically until the washer embeds 2-3mm into the rubber.It is recommended that the crane should support the fender system until the chain is connected and the tension is properly adjusted. |