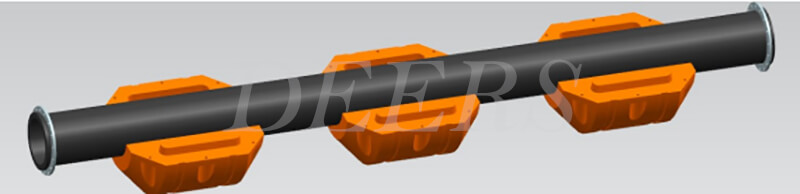
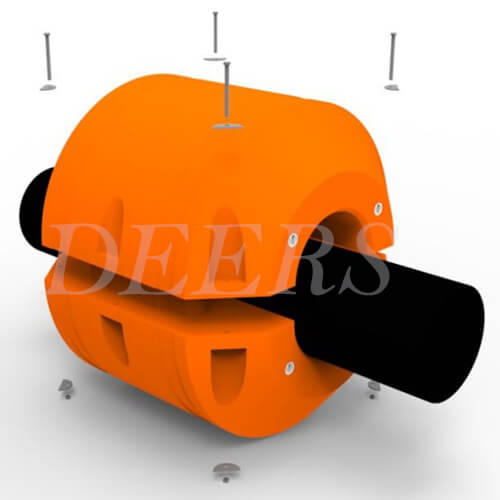
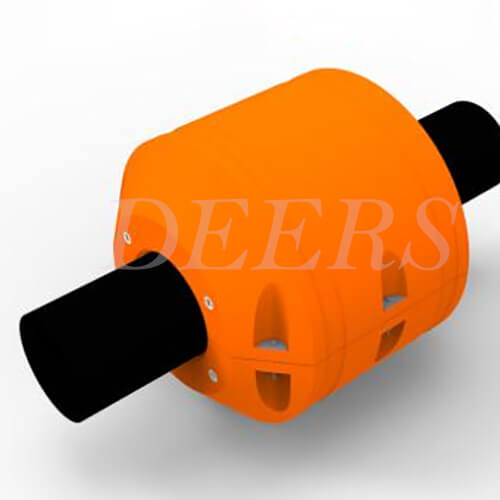
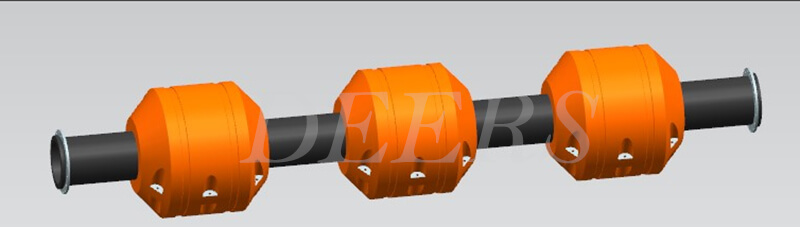
Installing pipe floaters correctly is essential to ensure stable buoyancy, safe operation, and long-term performance of dredging pipelines. Whether you are working with steel pipes or HDPE pipes, proper installation helps maintain the pipe’s position, reduces stress during operation, and prevents unnecessary wear or movement. Below is a step-by-step guide to help you install floaters efficiently and securely.
Place one half of the pipe float shell beneath the steel or HDPE pipe. Typically, one HDPE pipe requires three pairs of floaters, while a steel pipe requires four pairs. Ensure the floaters are spaced evenly to keep the pipe stable.
2. Place the upper half of the floater over the pipe, aligning it properly with the lower half. Make sure the grooves are oriented in the correct direction.
3. Insert the galvanized or stainless-steel bolts through the mounting holes. Attach the nuts and washers, tightening them evenly until the floater fits securely around the pipe.
However, please note not to fully tighten the bolts at the beginning, as this allows flexibility to correct any slight misalignment between the bolt holes. If misalignment occurs, can gently adjust or rock the floater to ensure proper positioning before completing the final tightening.